Product Photography Shot List: Plan Images That Answer Buyers’ Questions
Build a practical ecommerce product photography brief with seven image roles, a backpack example and an approval checklist for accurate listing visuals.
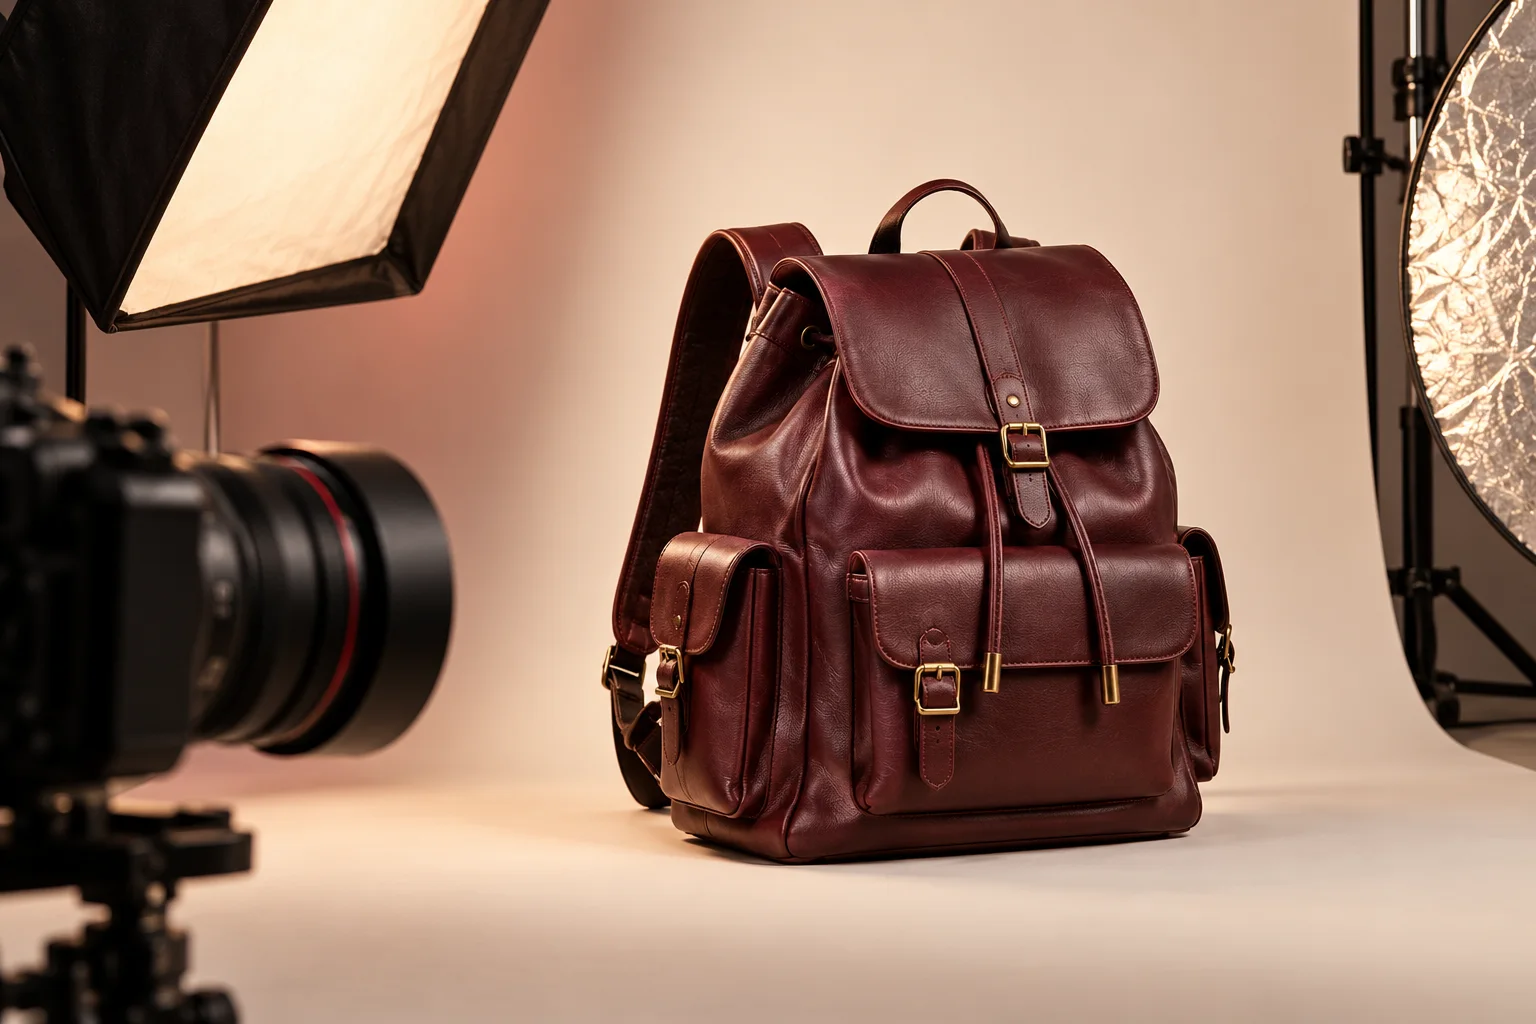
Give each product image a job: identify the item, explain its size, reveal construction, demonstrate use or clarify what arrives in the box. A series of beautiful but nearly identical pictures leaves important buying questions unanswered.
Separate Marketplace Rules From Creative Choices
Amazon’s public photography guide describes technical image requirements and recommends clear, high-resolution photographs. It lists accepted file formats and a longest-side range of 500–10,000 pixels, while preferring larger images for zoom. Check the current category and marketplace requirements in Seller Central before exporting: a lifestyle image suitable for a secondary slot may not satisfy the main-image rules. Source: Amazon’s product photography guide.
The planning framework below is our suggested workflow, not an Amazon-mandated seven-image formula. Your product may need fewer shots or additional views. Start with the questions a buyer cannot answer by reading the title.
Seven Useful Image Roles
| Image Role | Buyer Question | Brief To The Photographer |
|---|---|---|
| Product overview | What exactly is this? | Show the actual product clearly with the required background and crop. |
| Alternative angle | What does the back or underside look like? | Reveal a genuinely different surface or feature. |
| Scale | How big is it? | Use verified dimensions or an appropriate familiar reference. |
| Material detail | What am I paying for? | Capture texture, seams, hardware or finish without disguising them. |
| Function | How does it work? | Demonstrate the important action or mechanism. |
| Use context | Will it suit my situation? | Show a realistic setting without implying untested performance. |
| Included contents | What will I receive? | Display the exact supplied components and quantities. |
Worked Example: A Travel Backpack
Imagine a burgundy backpack with a padded compartment, two side pockets and a detachable strap. This is an illustrative brief, not a client portfolio item. Photograph the front to establish identity, then the rear to show padding and straps. An open-bag image should explain the compartments rather than simply repeat the front view.
For scale, measure the finished bag and agree which dimensions appear in the secondary graphic. Do not infer laptop compatibility from a diagonal screen size alone: check the compartment opening and usable interior against the device dimensions. A close-up can show stitching and zipper construction. An included-contents shot should make clear whether the detachable strap is supplied.
If a laptop is used only as a styling prop, avoid implying that it is part of the purchase. Similarly, a rainy lifestyle scene can suggest water resistance; do not create that impression unless the product claim is supported. Write these exclusions into the brief before shooting.
Send A Brief That Prevents Reshoots
- Exact SKU, colour, revision and production sample to photograph.
- Sales channels and intended image positions.
- Approved product facts and claims that must not be added.
- Required views, dimensions and included accessories.
- Reference mood, lighting and background preferences.
- Deliverable aspect ratios, resolution, formats and crop-safe areas.
- Whether layered files and later edits are included.
- Who approves the sample, shot list and final export.
Ask for a test frame before the entire session when colour or reflectivity is difficult. A small adjustment to lighting at that stage may be simpler than correcting every finished photograph. Keep a record of which physical sample was photographed so later product changes do not silently make the listing inaccurate.
Review Accuracy Before Polish
Compare the final images with the real item. Check colour, proportions, component count, readable details and consistency between views. Retouching should not invent a pocket, remove a real seam or make a finish appear materially different. Inspect the export at mobile size as well as full resolution: important details should survive the smaller display.
For your own website, export appropriately sized, compressed copies and describe meaningful images with natural alt text. Keep original masters separately. For marketplace uploads, follow that platform’s current export requirements rather than assuming the website version is suitable everywhere.
How To Assess A New Image Set
Record which images changed and when. Review relevant listing performance over a comparable period, keeping price, stock and advertising changes in mind. A sales increase after a reshoot does not by itself establish that the images caused it. Customer questions and return reasons can also reveal which details the images still fail to explain.
Explore our Product Photography, Videography & Editing services, or read how to connect advertising results with product margins.